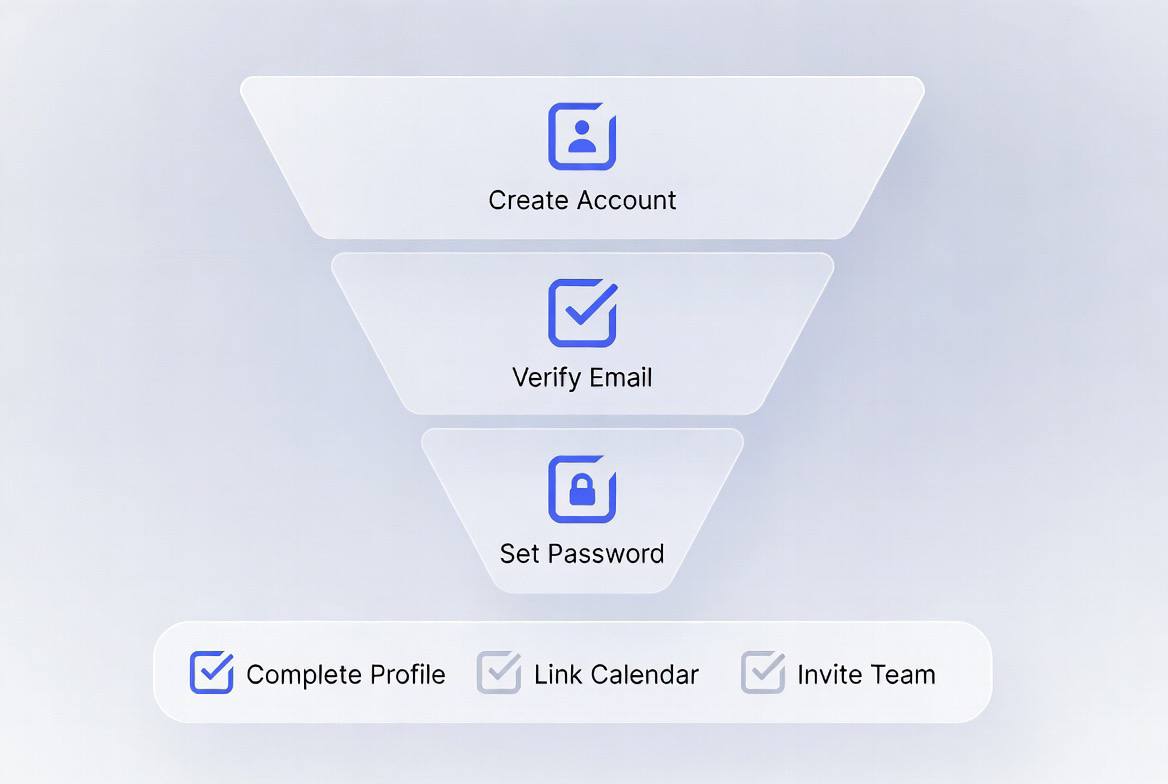
The conversion rate between trial signup and active paid subscriber is one of the most important metrics a SaaS business controls. Many trials fail not because the product is wrong for the customer but because the customer never reached the point where the product’s value was clear. They sign up, look around a confusing interface, do not know what to do first, and cancel or simply stop logging in.
Onboarding technology bridges the gap between account creation and the “aha moment” - the point where a new user experiences the product’s core value for the first time. This guide covers the components of effective onboarding, the tools available, and the metrics that distinguish onboarding that converts from onboarding that looks good in screenshots.
If you are building a SaaS product, you might also be interested in our guide to choosing the right CRM for your small business - the onboarding principles here apply equally to how you configure and roll out internal tools.
The Activation Funnel
Before building anything, define your activation funnel: the specific sequence of actions that new users must take to reach their first value experience.
For a project management tool, activation might be:
- Create first project
- Add at least one task
- Invite at least one teammate
- Complete first task
For a code review tool:
- Connect a repository
- Open a pull request
- Receive first automated comment
Each step has a conversion rate. If 80% of users create a project but only 30% add a task, the drop at step 2 is where onboarding attention should focus first.
Track this funnel in your analytics platform:
// Track each activation milestone
analytics.track('Activation Milestone Completed', {
  step: 'project_created',
  stepNumber: 1,
  timeFromSignup: Date.now() - user.createdAt,
  userId: user.id,
  plan: user.plan,
});
The activation funnel gives you a data-driven view of where users are dropping off, making onboarding improvement a measurable engineering problem rather than a design intuition exercise.
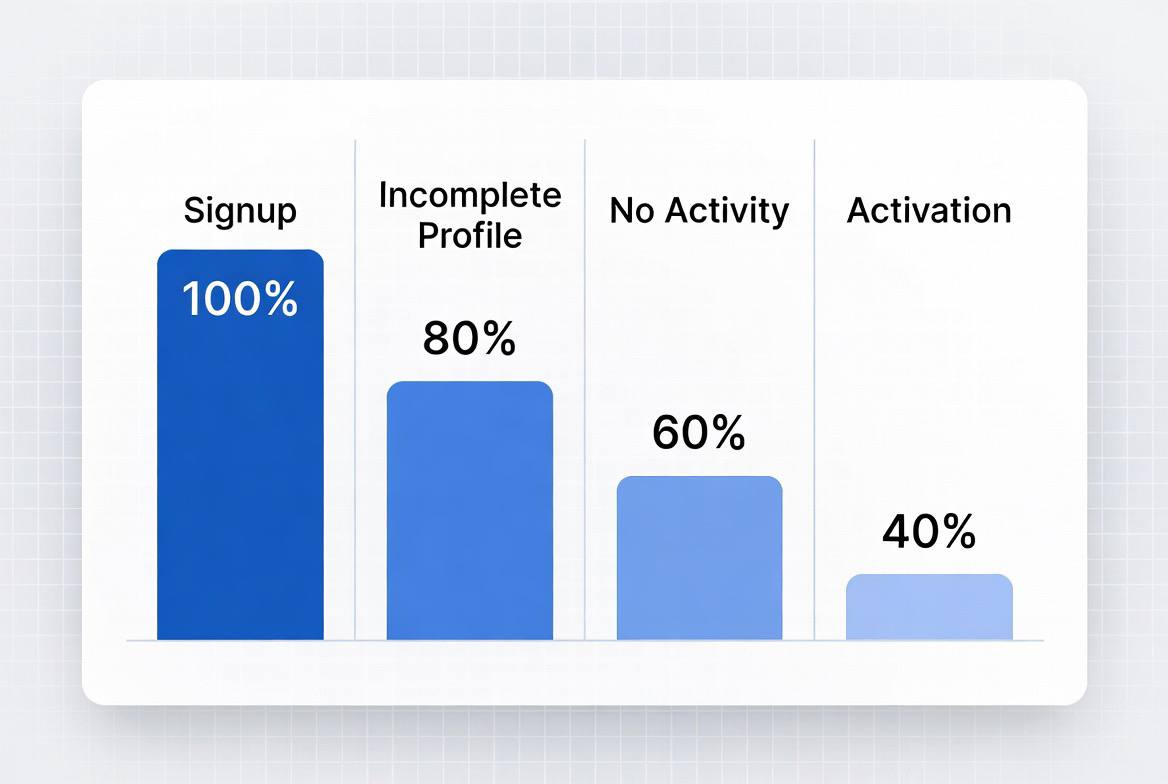 A typical activation funnel: most users complete early steps, but drop-off increases with each additional action required.
For teams working with limited resources, our guide to self-hosted business tools and SaaS alternatives covers how to build activation tracking without expensive analytics platforms.
Onboarding Checklist
A visible onboarding checklist keeps users oriented and creates a completion pull - users who have completed 3 of 5 steps have a stronger motivation to finish than users who have completed 0 of 5.
The key implementation decisions:
Keep it short. A 10-item checklist is overwhelming. The checklist should contain only the steps that lead directly to first value - typically 3 to 5 items. Additional setup steps can be presented after the user has activated.
Make each step immediately actionable. Each checklist item should link directly to the action it represents. “Connect your first integration” should open the integrations panel, not move through to a help article about integrations.
Mark completed steps visibly. Visual feedback on completion reinforces progress. A checkmark and a crossed-off item are both effective.
function OnboardingChecklist({ user, onStepClick }) {
  const steps = [
    {
      id: 'create_project',
      label: 'Create your first project',
      completed: user.projectCount > 0,
      action: () => onStepClick('new-project'),
    },
    {
      id: 'invite_teammate',
      label: 'Invite a teammate',
      completed: user.teamSize > 1,
      action: () => onStepClick('invite'),
    },
    {
      id: 'connect_integration',
      label: 'Connect Slack notifications',
      completed: user.hasSlackIntegration,
      action: () => onStepClick('integrations'),
    },
  ];

  const completedCount = steps.filter(s => s.completed).length;

  return (
    <div className="onboarding-checklist">
      <div className="progress-bar">
        <div
          className="progress-bar-fill"
          style={{ width: `${(completedCount / steps.length) * 100}%` }}
        />
      </div>
      <p>{completedCount}/{steps.length} steps completed</p>
      {steps.map(step => (
        <button
          key={step.id}
          className={`step ${step.completed ? 'completed' : ''}`}
          onClick={step.action}
          disabled={step.completed}
        >
          <span className="check">{step.completed ? '✓' : '○'}</span>
          {step.label}
        </button>
      ))}
    </div>
  );
}
Hide the checklist after completion, or replace it with a “You’re all set!” state that links to advanced features.
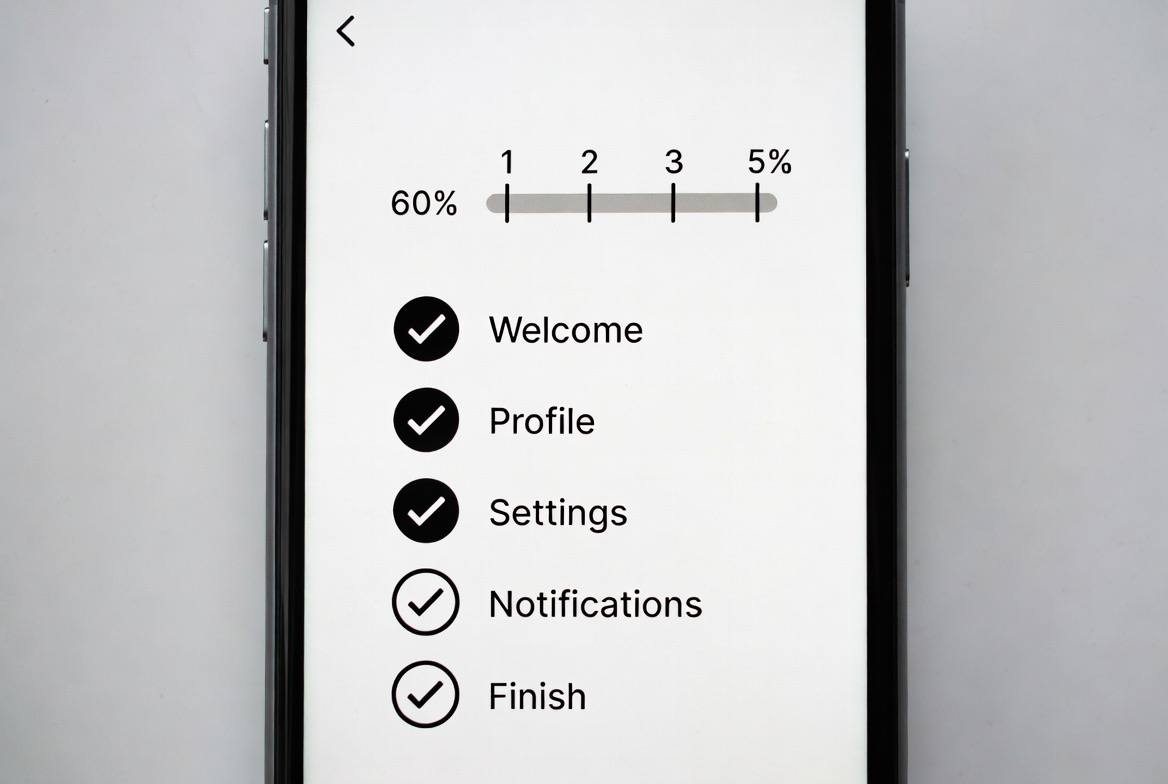 A well-designed onboarding checklist keeps users oriented and creates motivation to complete setup.
Empty States
Empty states are the screens users see before they have created any content. A poor empty state - a blank screen with a heading - leaves users uncertain about what to do. An effective empty state guides users toward their first action.
// Poor empty state
function EmptyProjectsPage() {
  return <div>No projects yet</div>;
}

// Effective empty state
function EmptyProjectsPage({ onCreateProject }) {
  return (
    <div className="empty-state">
      <img src="https://veduis.com/illustrations/empty-projects.svg" alt="" aria-hidden />
      <h2>Create your first project</h2>
      <p>
        Projects help you organize tasks, track progress, and collaborate
        with your team.
      </p>
      <button onClick={onCreateProject} className="btn-primary">
        Create a project
      </button>
      <a href="/templates" className="link">
        Or start from a template
      </a>
    </div>
  );
}
The effective empty state:
- Explains what the feature does (not obvious to a new user)
- Provides a clear primary action
- Offers an easier alternative (templates reduce the blank-page problem)
Behavioral Triggers and Contextual Tooltips
Rather than walking users through a tour upfront (which they often dismiss before they understand the context), deliver help at the moment the user encounters a feature for the first time.
// Track when users encounter a feature for the first time
function FeatureFirstEncounter({ featureId, children, tooltip }) {
  const { hasSeenFeature, markFeatureSeen } = useFeatureTracking();

  useEffect(() => {
    if (!hasSeenFeature(featureId)) {
      // Show tooltip, then mark as seen after user interacts
    }
  }, [featureId]);

  return (
    <div>
      {!hasSeenFeature(featureId) && (
        <Tooltip
          content={tooltip}
          onDismiss={() => markFeatureSeen(featureId)}
        />
      )}
      {children}
    </div>
  );
}
Contextual tooltips are more effective than linear product tours because they appear when the user is already focused on that feature rather than requiring them to remember information from a tour they completed yesterday.
Email Onboarding Sequences
In-app guidance reaches users when they are in the product. Email sequences reach them when they are not - and often bring them back. Our guide to AI email automation for small business covers how to set up behavioral trigger emails without writing code.
A basic activation email sequence:
Day 0 (immediately after signup): Welcome email with a single clear next step. Not a feature list - one action. “Your account is ready. Start by creating your first project.”
Day 1 (if they have not created a project): “Need help getting started?” with a short guide or offer to book an onboarding call.
Day 3 (if they have created a project but not invited teammates): “You’re making progress. Your projects are more useful with a team - here’s how to invite teammates.”
Day 7 (if they have not activated): Social proof email. A case study or customer quote from a similar company. “How [similar company] uses [Product] to [outcome].”
Day 14 (trial ending soon): Trial expiration notice with specific value the user has already gotten, and clear conversion path.
Trigger these sequences based on behavior, not time alone. A user who activated on day 1 should not receive the day-1 “getting started” email. Customer.io, Vero, and Drip all support behavioral triggers for email sequences.
Onboarding Tools
Appcues: No-code product tours and checklists. Marketed heavily at product teams that do not want to build in-app guidance from scratch. Expensive at scale.
Userflow: Similar to Appcues, with a simpler pricing model. Good for teams with limited engineering bandwidth.
Intercom Product Tours: If you already use Intercom for support, their product tours integrate with the same user data.
Build it yourself: For teams with engineering capacity, in-app checklists and contextual tooltips are not complex to build and give you full control. The components shown above are implementable in a day or two. If you are looking for a broader view of building internal tools, our comparison of Retool, Appsmith, and Budibase covers the landscape of low-code platforms for product teams.
Measuring Onboarding Effectiveness
Activation rate: Percentage of signups who complete the defined activation milestones within 7 days. This is the primary onboarding metric.
Time to first value: How long from signup to first activation milestone? Reducing this time improves conversion.
Step completion rates: For each step in the activation funnel, what percentage of users who reached that step completed it? The step with the lowest completion rate is the highest-priority onboarding problem.
7-day retention of activated vs non-activated users: If activated users retain at 70% and non-activated users retain at 20%, activation is a leading indicator of retention - and the ROI on onboarding investment is clear.
Good onboarding is a compounding investment. Every improvement to the activation funnel converts more of the traffic you are already paying to acquire. For related reading, see our guide to real-time analytics dashboards for ecommerce to understand how to visualize the metrics that matter for user activation.